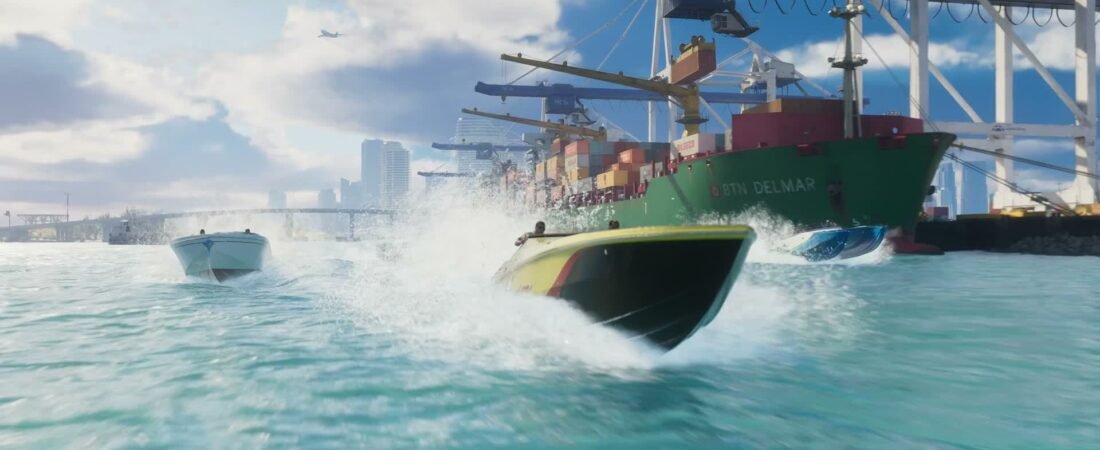
Thirteen years. That is how long Rockstar spent building Leonida, and tonight at midnight the game finally unlocks here in the US and I get to walk into it. Before I take a single step, I am doing something I almost never do: sitting in the settings menu for a good ten minutes, on purpose, before the story even starts.
That sounds like homework. It is not. It is the difference between seeing the game Rockstar built and seeing a washed out, badly calibrated version of it. Every review that landed this morning talks about the detail. Light coming through a cheap motel curtain. Rain beading on a car roof. A whole state that looks hand placed instead of generated. None of that survives a TV running in Vivid mode with motion smoothing on and brightness set by guesswork. The most expensive game ever made deserves better than your television’s factory presets, and so do you.
So this is my launch night setup, written before the menu even opens for me. Every recommendation below comes from the settings menus and technical breakdowns published today, and from Digital Foundry’s console analysis. Where something is still unconfirmed, I say so and name who reported it. This is the exact order I am doing things in at midnight.
The honest headline first: there is no performance mode, and that is the point
Let me get the thing everyone is arguing about out of the way. GTA 6 runs at 30 frames per second on every console at launch. Rockstar confirmed the 30 fps target itself on November 10, in the same Newswire post that opened preloads, and there is no 60 fps performance mode hiding in the menus. I checked every settings walkthrough published today. It is not there.
I know how that lands. I wanted 60 too. But sit with the reason for a second, because it tells you what kind of game this is. Digital Foundry’s analysis points at the CPU, not the graphics chip. Leonida is simulating traffic, crowds, weather, wildlife and a thousand little systems at once, and that simulation eats the frame budget. Dropping the resolution would not free up the processor time needed to double the frame rate. Rockstar chose the living world over the frame counter. The game also leans hard on ray traced global illumination and reflections, the lighting that makes a wet Vice City street look like a photograph instead of a video game.
And here is the part that matters for your setup: a well paced 30 is a completely different experience from a sloppy 30. Digital Foundry measured near perfect frame pacing on PS5 Pro in normal play, and John Linneman reported more than 50 hours on the Pro with dips only when he deliberately blew up multiple cars at once, down to around 24 fps in that chaos. The base PS5 holds 30 in most situations and can dip toward 25 during long explosions. Series X tracks close to the Pro. Series S is the rough one, and I will be straight about that below.
Your job tonight is not to find frames that do not exist. Your job is to make the 30 you get clean, stable and beautiful. That is a settings problem. Solvable.
What each console is actually doing
Digital Foundry measured the internal rendering resolution at 1440p on PS5, PS5 Pro and Xbox Series X, upscaled to a 4K output. The difference is in how each machine gets there. Here is the short version per console, based on Rockstar’s November 10 posts and Digital Foundry’s November 18 analysis.
PlayStation 5. Internal 1440p with a standard upscaler to 4K output, ray traced global illumination and reflections, 30 fps target with occasional dips in heavy destruction. You also get the full DualSense treatment, haptics, adaptive triggers and Tempest 3D audio, which Sony and Rockstar have both highlighted since the game was announced.
PlayStation 5 Pro. Same 1440p internal render, but PSSR upscaling produces an image Digital Foundry says convincingly passes for native 4K, plus ray traced shadows that only the Pro gets. Frame pacing was the steadiest of the four consoles in testing. If you own a Pro, this is simply the best console version, full stop.
Xbox Series X. Internal 1440p upscaled to 4K with Rockstar’s own TAA solution, per developer comments reported by Wccftech. Windows Central’s review play found a stable 30, and Digital Foundry puts its stability close to the PS5 Pro.
Xbox Series S. Internal 720p, upscaled to 1080p with AMD FSR, with visibly reduced texture detail and thinner crowds in Digital Foundry’s comparisons. The frame rate is the loosest of the four, often in the mid to high 20s and dropping toward 20, occasionally 18 to 19, in explosive shootouts. It is still Leonida, and still playable, but if you have any other option tonight, take it. If the Series S is what you have, the TV advice below matters even more, because a clean image hides a soft render better than a sharpened one.
Notice what is not in any of those blocks: a graphics mode toggle. Everything you can actually change lives in your TV, your console system settings, and the game’s own menus. Let us go through them in the order I am doing them.
Step one happens before the game: your TV and console
The single biggest upgrade tonight costs nothing and lives in your television. Most TVs ship with picture processing that actively fights a game like this.
Turn on Game Mode first. It kills the heavy processing that adds input lag, and usually disables motion interpolation in the same move. If your TV keeps motion smoothing as a separate toggle, names like TruMotion, Motionflow or Auto Motion Plus, turn it off yourself. Interpolation on a 30 fps game gives you that soap opera look and smears artifacts around fast cars. Turn off dynamic contrast, noise reduction and any AI enhancement or extra sharpening while you are in there. Noise reduction will smear the fine texture detail this game is famous for, and sharpening makes a 1440p upscale look crunchy instead of smooth.
Then calibrate HDR at the console level, in the exact picture mode you just set. On PS5 that is Settings, Screen and Video, Video Output, Adjust HDR, three screens where you move a slider until the symbol is barely invisible. On Xbox it is Settings, General, TV and display options, Calibrate HDR for games. If your TV supports HGiG tone mapping, enable it, because it stops the TV from reinterpreting the image a second time and clipping your highlights. Do the calibration in the lighting you will actually play in tonight, which for most of us is a dark room at midnight. On PS5, also set HDR to On When Supported rather than Always On, Resolution to Automatic, and VRR to Automatic. VRR will not add frames to a 30 fps game, but it smooths the presentation when the frame rate dips under stress, and Digital Foundry’s testing says dips are exactly when you will feel them.
First boot: the four screens the game gives you
GTA 6 does not dump you straight into the action. The first launch walks you through four setup screens, in this order: Navigation Experience, UI Text Size, Subtitles and Brightness. Do not button mash through these. Each one shapes your whole first night.
Navigation Experience decides how much help sits on your screen. Minimap (Dynamic) hides the minimap until the game decides you need it or you tap the d-pad. Minimap and Compass (Dynamic) adds a compass bar that appears while driving or wanted. Minimap Always On is the classic GTA 5 setup, permanently parked in the corner. I am picking Minimap and Compass (Dynamic). Rockstar built a world dense enough that the game itself is the navigation, street signs, landmarks, a companion in the passenger seat, and I want my first hours as clean as the game allows.
UI Text Size runs Small, Medium, Large and X Large. Small is the default, tuned for a monitor at a desk. On a couch across the room, Medium is the honest choice.
Subtitles are off by default, which is a trap in a Rockstar game. Dialogue happens while driving, while shooting, while a radio DJ talks over a passenger. Turn them on, Small or Medium. A deeper menu later adds a Mission Only mode, closed captions, speaker names and a background behind the text. For a story this dense, I am running full subtitles with speaker names on for the first night.
Brightness is the logo test. A dark screen, the Rockstar logo, and one instruction: move the slider until the logo is barely visible. The walkthroughs show the slider starting at 15, but the number means nothing across different TVs. Use the test, not a value you read online. Too low and interiors crush into black soup. Too high and your blacks turn grey and the neon loses its punch. The screen comes back later under Settings, Display, Brightness Calibration, so if midnight-you gets it wrong, 2 AM you can fix it.
After those four screens, a Finish Setup screen offers you the full Settings menu or the game. Take the menu.
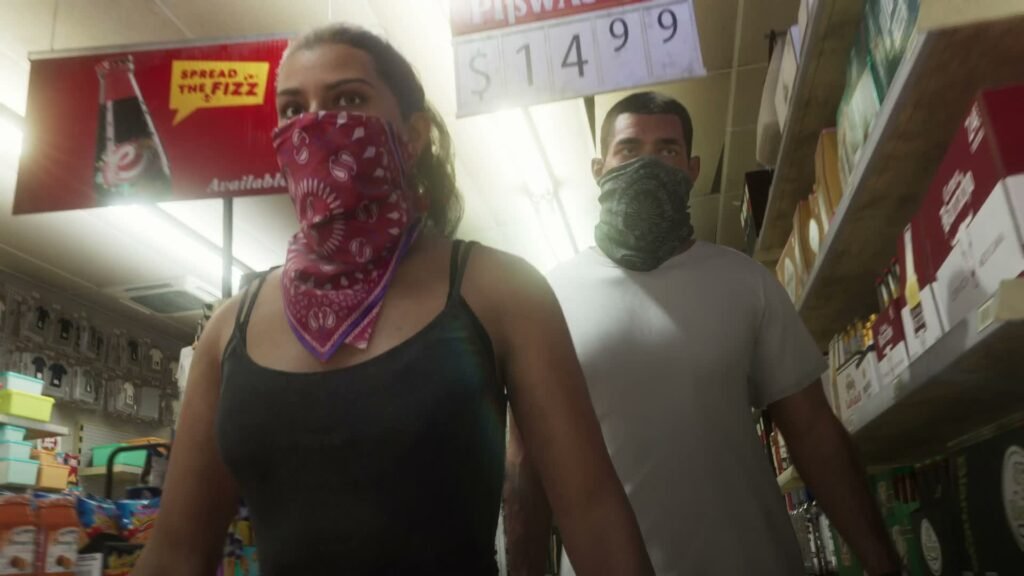
The Display tab: small sliders, huge difference
The Display tab holds 12 settings according to the launch day menu walkthroughs, and three of them matter most.
Motion Blur Strength ships at 3. This setting decides whether fast camera moves smear. At 30 fps, a little per object blur is part of why this game looks filmic in the trailers, and reviewers have praised the presentation. My plan: start at the default 3 for the opening, and if driving at speed feels mushy, drop it to 1. Going straight to 0 makes 30 fps camera pans look choppy and strobing, the opposite of what you want. This one is taste, but taste informed by ten minutes of driving beats taste copied from a stranger’s settings video.
The effects intensities. Player Status Effects, Hit Effects and Awareness Effects all ship at 5, and they control how hard the screen reacts when you are hurt, drunk, exhausted or spotted. At full strength they are part of the game’s physical feel. If you are prone to motion sickness, these sliders are your friends; one settings video making the rounds today shows players pulling all three down to 3. There is also a Brightness Reduction option that softens bright lights in the world without dimming the HUD, and a Flashbang toggle that swaps the blinding white flash for a dark one, which your eyes will thank you for at 2 AM.
Safe Zone pulls the HUD inward so nothing gets clipped by your TV’s edges. Set it once, before the story starts.
Two honest notes about what is not here. No film grain toggle appears in the reported Display menu, and no chromatic aberration switch either, despite a hundred pre launch videos promising both. There is no separate in game HDR slider in the walkthroughs either; HDR is handled by the console calibration you already did, and the in game control is the brightness logo test. If a settings video tells you otherwise, it was made before anyone had the game.
The tab also carries the gore controls, Dismemberment and Blood and Gore Intensity, plus colorblind support like the Focus Trail Colorblind Mode and a High Contrast Shaders section. Set those to your household, not to a guide.
Controls: your hands have thirteen years of muscle memory to update
Here is the change that will trip up every returning player tonight: sprint is L3 now. Click the left stick to run. GTA 5 trained us to tap X for thirteen years, and GTA 6 moves running to the stick click by default. The game tells you this on the Finish Setup screen, and I am still going to faceplant into it for the first hour. There are three control schemes, Default, Classic, which is modeled on GTA 5’s layout, and Left Handed, and the scheme preview covers nine situations from on foot to aircraft to parachute. If the new sprint makes you miserable, Classic exists. Personally I am giving Default a fair night, because Rockstar redesigned the layout around the new movement.
The Controller tab is where the game quietly gets generous. Look and aim sensitivity are separate, horizontal and vertical, and they ship at 7. Aim Acceleration and Look Acceleration ship at 7 too, with an Aim Response Curve set to Standard, one of four curves. Stick deadzones ship at 4 on both sticks; if your controller drifts, raise the deadzone before you blame the game. My approach is boring and correct: play the opening on defaults, then tune in ones. Sensitivity is a fingerprint, not a leaderboard.
On PS5, the DualSense section deserves respect rather than a quick disable. Vibration and Haptics Strength ships at 10, Adaptive Triggers Resistance and Vibration are on, and there is even a Light Bar Effect that reacts when you are wanted. Reviewers keep singling out the physical feel of this game: the weight of movement, rain, engines, gunfire through the controller. Turning all of that off to feel pro is like watching a concert with earplugs in. Start with the game talking to your hands the way Rockstar intended.
Camera: no first person, and the game is better for the honesty
Let us kill another rumor. There is no full first person mode in GTA 6 at launch. Insider Gaming and the camera explainers published today are clear: the game is built around a third person camera, a deliberate choice to focus on third person animation, according to preview attendees who heard it from co studio head Rob Nelson. What you get instead are two first person moments: aim through a fitted optic with R3, and pull your phone out while driving, with Up on the d-pad, to see the road from behind the phone. Cute, limited, and not a cockpit camera.
The Camera tab itself is deep. Camera height options, follow speeds on foot and in vehicles, separate aircraft and underwater camera behavior, cinematic camera frequency, and a comfort section with Camera Shake, Camera Bob, which one walkthrough shows at 10, and Weapon Sway. My launch night calls: keep the follow speeds at default until the world teaches you what fast means in Leonida, and if you get motion sick, Camera Shake off and Bob down are the first two doors to try. The Cinematic Camera plus the Auto Drive option, which drives you to your waypoint in cinematic view on the Restricted setting, is going to produce the most beautiful commute footage in gaming. And leave Idle Camera on: it switches to cinematic shots when you stop touching the controller, and the first time Leonida frames itself like a film, you will understand what this whole article is about.
Accessibility and assists: the menu that respects your time
Rockstar buried some of its best work in the Gameplay tab.
Targeting comes in three flavors. Lock On does what GTA has always done. Partial moves your aim toward a target without gluing to it. Free Aim is the purist’s choice and the hardest. On top of that sit Aim Assist Strength, shipping at 4, Lock On Time, Shooting Assist and Drive By Assist, all on by default. There is no wrong answer here, only your answer. I am starting on Lock On with the assists on, because tonight is about seeing Leonida, not proving something to it.
Then the accessibility block proper, and it is genuinely impressive. Tap Assist turns repeated button mashing into fewer presses or a hold. Hold Assist shortens hold times. Hold Delay stops accidental inputs. Aiming, Interact and Loadout can each switch between hold and toggle. Simplified Mini Games softens the inputs for hotwiring, exercise and basketball. Accessible Combat lowers enemy health and the damage you take, with an honest in game warning that it changes the balance a lot, and Reduced Vehicle Damage does the same for your car. Auto Equip Helmet puts your helmet on when you get on a bike and takes it off when you get off, which is somehow both an accessibility feature and the most Rockstar detail in the entire menu. The UI tab behind all of this reportedly runs to around 70 settings, from subtitle modes and blip sizes to reticle shape and progress notifications. I am turning Street Names on, because learning a city by its street names is how a map becomes a place. Completionist brain is a lifestyle.
Audio: Leonida is a soundscape, dress accordingly
The Audio tab, per the launch day walkthroughs, gives you separate volume sliders for master, SFX, dialogue, UI, media, music and narration, plus a Mono toggle, Tinnitus Reduction for the ringing after explosions, GPS Voice for spoken directions, and the one every streamer already found: Mute Licensed Music.
On PlayStation, enable Tempest 3D Audio at the system level and build your headphone profile if you have not. Rockstar and Sony have both talked up the 3D audio support, and everything reviewers describe about this world, sirens bouncing off buildings, weather rolling in, a city that sounds awake, lives or dies on spatial audio. If you play on speakers, keep dialogue a notch above where you think it belongs. Rockstar mixes are cinematic, a polite way of saying the explosion will always try to eat the sentence that matters. My one strong audio opinion: leave the music slider alone on night one. The radio is part of the fiction. Mute Licensed Music exists for streamers and copyright safety, but on your couch, let the stations play.
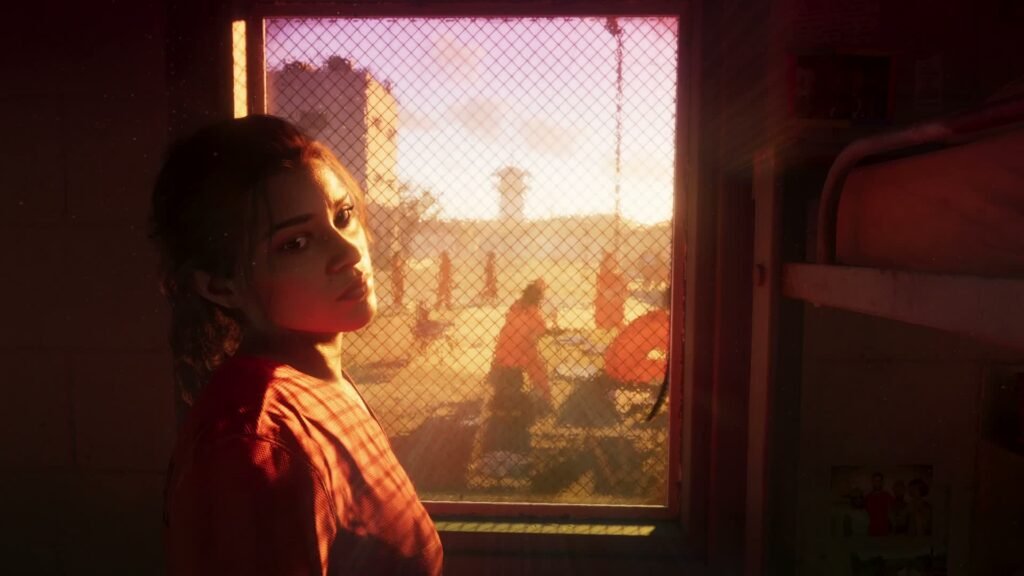
Your first hour: a details checklist
Settings done. Now the reward. Reviewers spent today pointing at small things, and Digital Foundry’s breakdowns keep circling the same lighting and simulation tricks. Here is what I am hunting for in my first hour, because noticing this stuff is the entire reason we calibrated anything.
Watch the light first. Ray traced global illumination means sunset does not just tint the sky, it rewrites every room it touches. Walk into a cheap interior at golden hour and look at how the light lands. Then find wet pavement after dark and look down: Vice City neon in a puddle is the shot this whole generation will be remembered by.
Watch the people. Crowds in this game do not just walk loops; reviewers keep describing a world that reacts, films, flees, gawks and gets on with its day around you. Stand still on a busy corner for one full minute and observe. It will be the best minute of your first hour.
Watch the water and the weather. The causeway drive, the Keys, a storm rolling over the water: the trailers were not lying, and reviewers say the game was not either. Watch what rain does to clothes, to hair, to a car roof.
And watch the small physical stuff, the details the internet will be clipping all week. Damage that shows on a body. A partner who behaves like a person instead of a follower. Wildlife minding its own business until you interrupt it. I am not spoiling scenes; I am telling you where to point your eyes. The settings work above exists so that when these moments happen, your screen is not the thing that fails them.
See you at midnight
That is the whole ritual. Game Mode on, processing off, HDR calibrated in the dark, brightness by the logo, subtitles on, motion blur respected instead of feared, sprint relearned, camera comfort set, assists set to your hands and not to your pride, audio given room to breathe.
Rockstar spent thirteen years and a fortune building a place. The least I can do is spend ten minutes making sure my television shows it to me properly. The game unlocks at midnight Eastern tonight, and I will be in Leonida the second it does, settings already done, coffee already made. However you are playing, I hope your first hour looks the way the people who built it meant it to look.
Welcome back to Leonida.
The Checkpoint Poll
Leave a Reply